
English

Views: 0 Author: Site Editor Publish Time: 2026-08-19 Origin: Site


Apparel customization carries incredibly high stakes. A single poor choice compromises garment integrity, distorts brand logos, and often triggers costly batch rejections. Brand managers, procurement leads, and uniform designers face a complex matrix of material decisions. You must look far beyond generic aesthetics to guarantee your apparel program succeeds. True functional compatibility demands a deep understanding of fabric behavior, industrial wash frequencies, and design resolution limits. Selecting the perfect custom patch for clothing requires balancing visual fidelity against mechanical durability and unit economics. This guide serves as your technical decision framework. We will explore how specific thread tensions affect lightweight shirts. You will learn why certain adhesive backings fail on waterproof jackets. By mastering these engineering principles, you can scale your production volumes confidently, ensuring every garment delivers long-term brand value.
Design complexity dictates the medium: Woven patches handle fine text, while embroidery patches offer textured depth.
Fabric composition drives backing choice: Synthetic blends require sew-on or low-heat applications to prevent melting, whereas cotton tolerates standard heat-seal.
Environment matters: Outdoor and tactical gear heavily favor waterproof, UV-resistant PVC over traditional thread.
Sample before scaling: Always require a digitized proof and a physical prototype before committing to high-volume minimum order quantities (MOQs).
Before reviewing physical materials, you must establish clear success criteria. A patch designed for a single-use promotional event will fail miserably on heavy-duty construction workwear. Establish your baseline requirements using the following evaluation framework.
Durability vs. Lifecycle: Always match the patch lifespan to the underlying garment lifespan. Industrial uniforms subjected to high-heat commercial laundering require chemically resistant materials. Conversely, promotional tees need cost-effective, temporary solutions. You prevent premature degradation by aligning these lifecycles.
Brand Fidelity: Define your required level of detail upfront. Assess your vector artwork for gradients, micro-lettering, and precise Pantone color matching. High-fidelity requirements often eliminate traditional thread-based mediums entirely.
Unit Economics & Scalability: Account for all setup costs before calculating your return on investment. Custom molds and complex digitizing fees impact small batches heavily. High-volume runs amortize these initial expenses, shifting the true ROI calculation.
Compliance & Comfort: Consider interior skin contact, especially regarding lightweight athletic garments. Heavy patches cause sagging and chafing. Additionally, heavily regulated industries often mandate strict compliance standards. Fire-resistant workwear strictly requires flame-retardant threads and specialized backings.
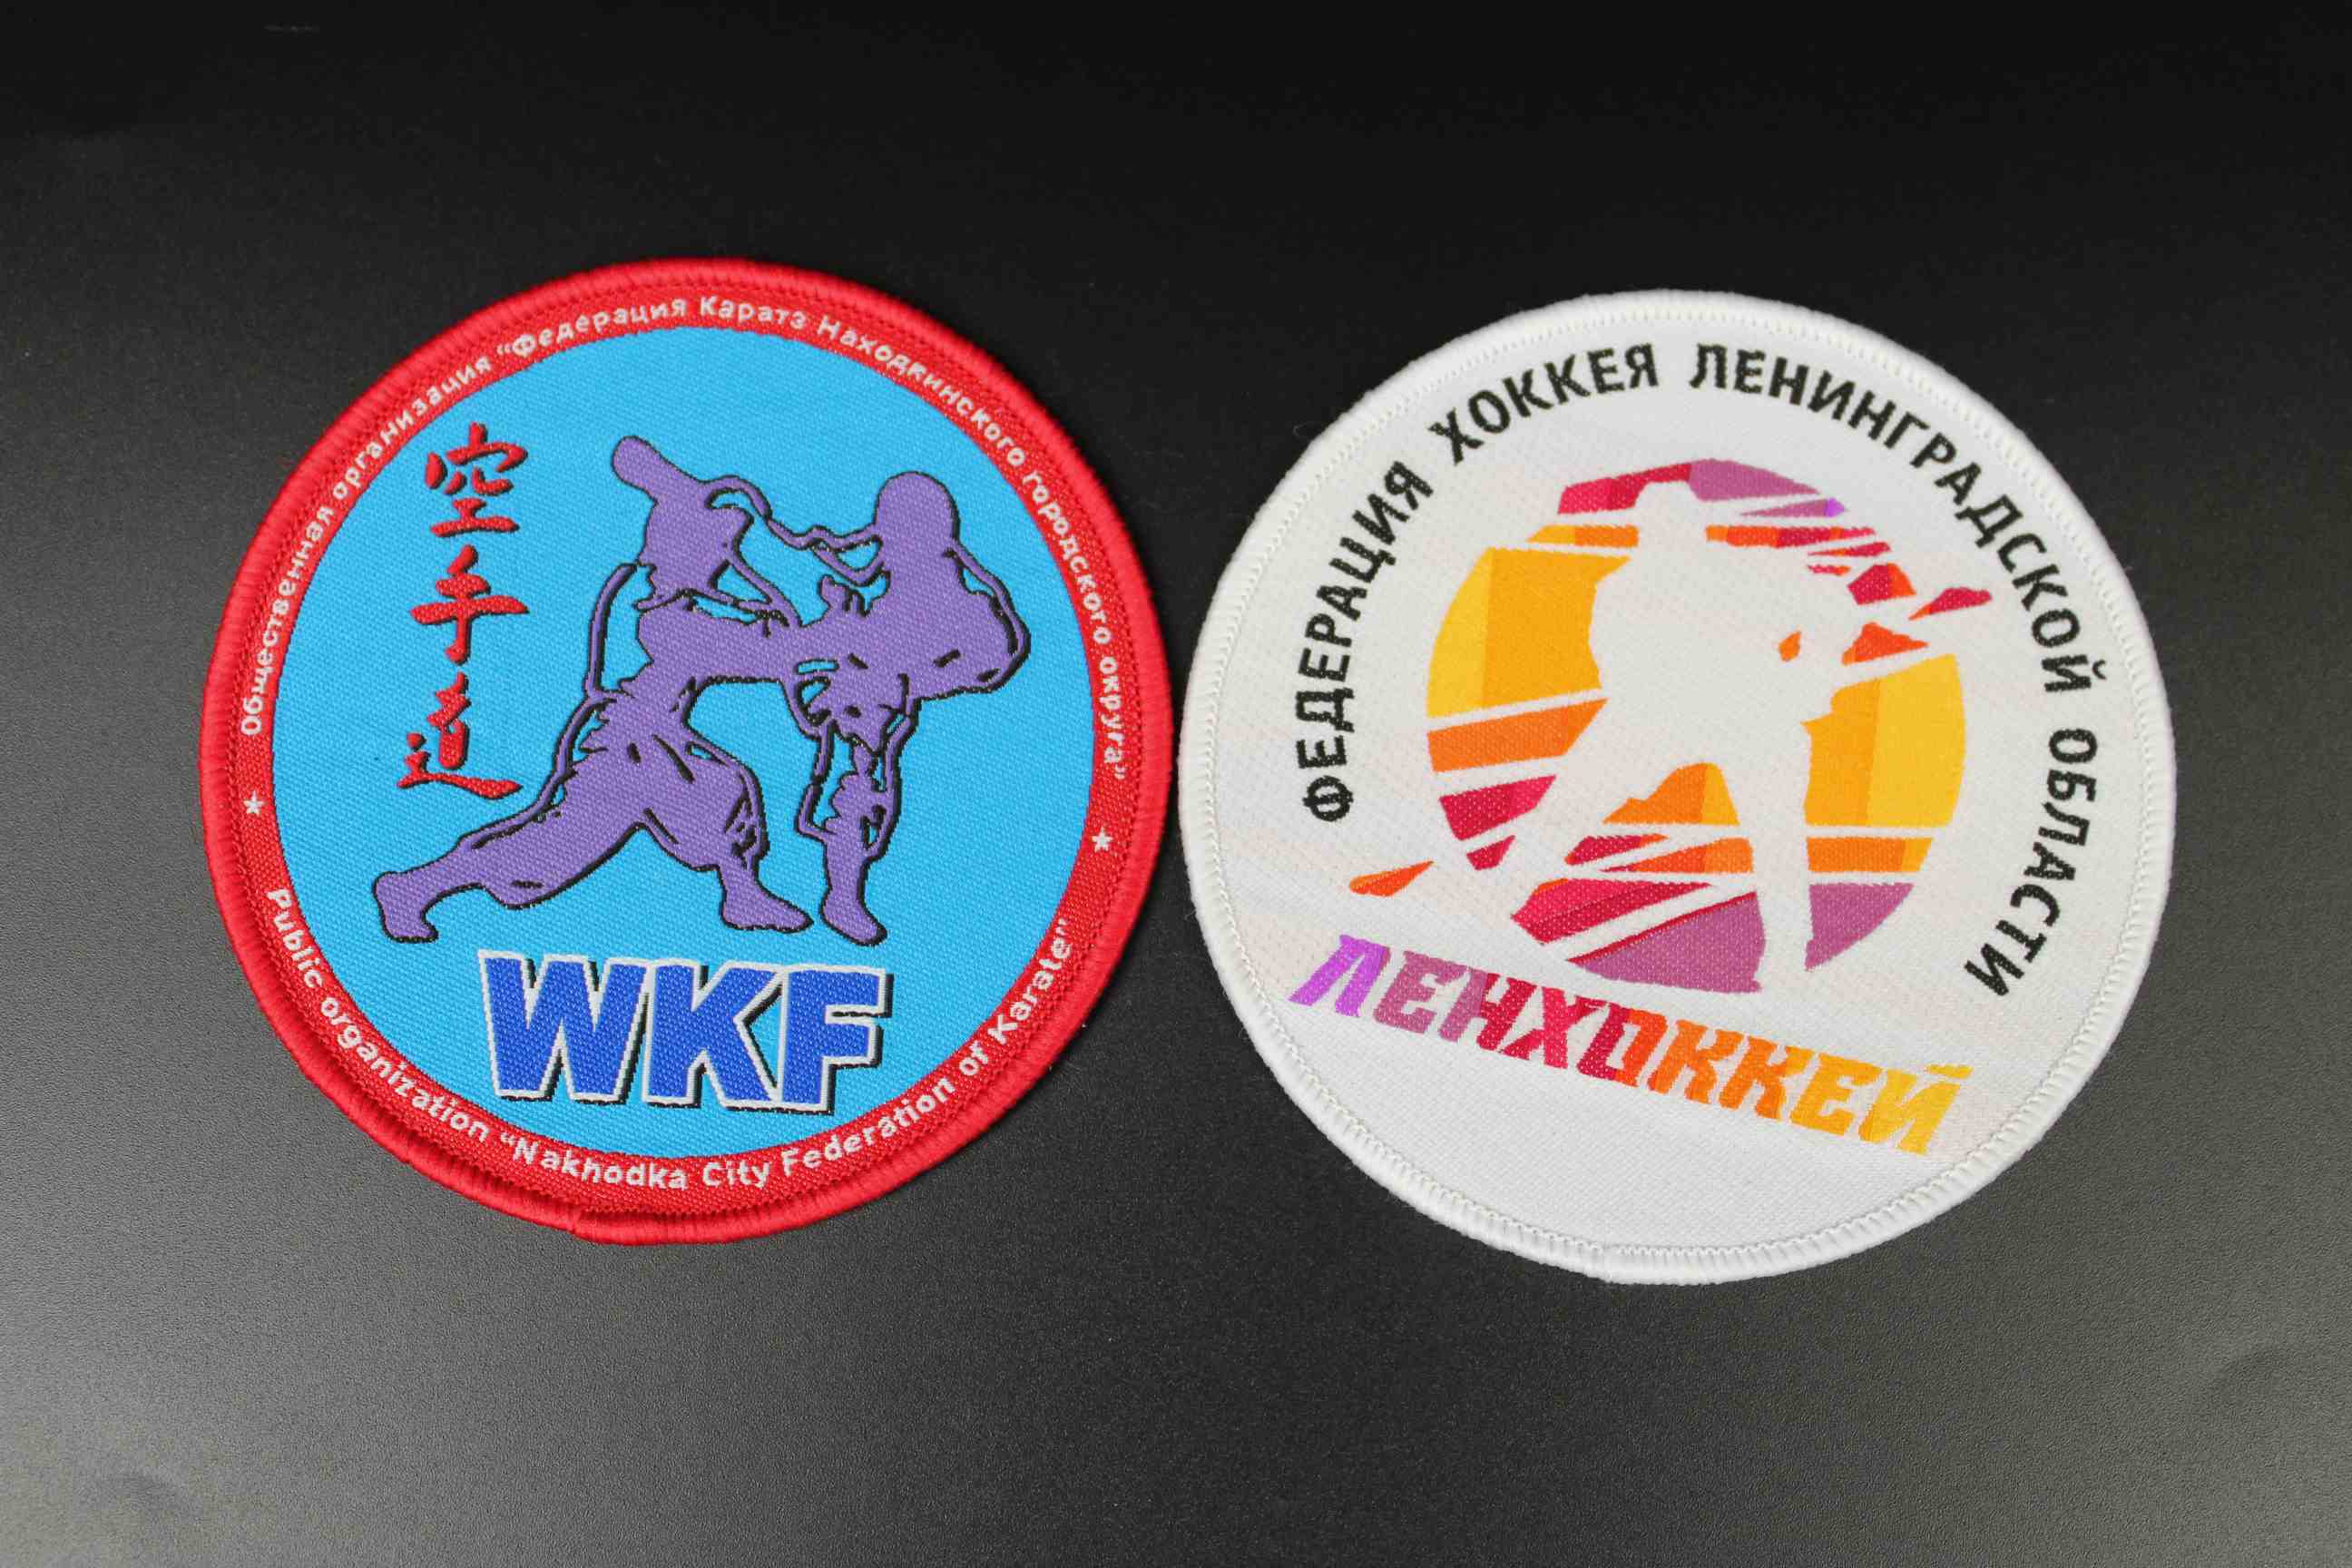
Choosing a medium represents an engineering choice. Every material interacts uniquely against tension, moisture, and friction. Below, we break down the four primary categories dominating modern apparel customization.
Traditional thread stitching provides a classic, raised texture. Many heritage brands rely on embroidery patches to deliver bold, traditional aesthetics. They provide exceptional depth and visual weight.
Best for: Classic aesthetics, bold corporate logos, and heavy outerwear.
Limitations: Thread physical thickness restricts high resolution. Needles cannot hold micro-details or text smaller than 4mm legibly. Furthermore, high thread tension often puckers lightweight fabrics.
Common Mistake: Attempting to force complex gradients into digitized stitch paths resulting in muddy, indistinct color blocks.
When your design features complex typography, shift away from embroidery. Modern looms use much thinner threads woven tightly together. This method creates a highly detailed, flat profile. Corporate apparel programs utilize woven patches because they capture minute details accurately.
Best for: High-resolution designs, intricate typography, and clean profiles.
Implementation note: The tighter weave ensures excellent legibility. It scales beautifully across large uniform rollouts requiring consistent, crisp corporate branding.
Harsh environments destroy traditional threads. Tactical gear, outdoor outerwear, and durable headwear demand rugged solutions. Manufacturers cast PVC patches from flexible polyvinyl chloride, creating a modern, 3D rubberized look.
Best for: Environments exposed to constant moisture, mud, and abrasion.
Implementation note: Production requires a custom metal mold. This drives up initial setup costs. However, they offer unmatched longevity and complete waterproof capability.
Vintage and luxury streetwear markets constantly seek unique tactile experiences. Soft, raised velvet textures serve as an excellent modern alternative to heavy chenille. Designers utilize flock patches to achieve this premium, dimensional feel.
Best for: Varsity jackets, vintage styling, and luxury streetwear.
Limitations: The velvety surface suffers higher susceptibility to friction wear. They demand specific, gentle laundering care to maintain their raised texture over time.
Material Type | Primary Advantage | Text Resolution Limit | Setup Cost Impact |
|---|---|---|---|
Embroidery | Classic textured depth | Cannot hold text under 4mm | Low (Digitizing fee only) |
Woven | High definition and flat profile | Excellent for micro-text | Low to Medium |
PVC (Rubber) | Waterproof and abrasion-resistant | Good, structured lines | High (Requires custom metal mold) |
Flock | Premium velvety texture | Poor for small details | Medium |
A beautiful design means nothing if it peels off during the first wash cycle. You must align the backing chemistry directly against the garment fabric constraints.
Factories rely on heat-seal backings for rapid, scalable application. The melted adhesive stiffens the overall structure, providing a clean, flat look.
Pros: Highly scalable. Eliminates manual sewing labor.
Risks: Heavy industrial laundering degrades the adhesive quickly. More importantly, it remains entirely unsafe for heat-sensitive synthetics. Applying high heat melts nylon and destroys durable water repellent (DWR) coatings.
When absolute permanence matters, sewing remains king. High-heat commercial washing systems will not dislodge a properly stitched border.
Pros: The undisputed industry standard for permanent attachment. Survives brutal chemical wash cycles.
Implementation note: It adds significant labor cost during final garment assembly. However, it completely eliminates any peel-off risks, protecting your brand reputation.
Specialized workwear often requires rapid insignia swapping. Military uniforms and first responder gear rely heavily on modular systems.
Pros: Highly interchangeable. Allows personnel to remove branding before laundering heavy jackets.
Implementation note: Procurement must account for two-part assembly. You must sew the soft loop side directly onto the base garment before attaching the hooked emblem.
Sometimes you only need branding to last four hours. Peel-and-stick options offer immediate, equipment-free application.
Pros: Instant application anywhere.
Risks: Strictly temporary. The adhesive fails rapidly upon movement. Only viable for single-use event apparel, temporary trade show branding, or VIP backstage passes.
Proper scaling separates professional uniforms from amateur attempts. Oversized graphics warp lightweight shirts, while undersized logos disappear on heavy jackets. Follow established industry sizing standards to guarantee ideal placement.
Corporate identity universally utilizes the left chest placement. Standard industry sizing ranges strictly between 2.5 and 3.5 inches wide. Keeping the dimensions within this threshold prevents unsightly sagging on lightweight polo fabrics. Anything larger pulls the collar downward, ruining the garment drape.
Hats introduce complex curvature. The maximum height restriction for front panels typically sits at 2.25 inches. Exceeding this height forces the material to buckle against the crown. Rigid materials will warp the hat structure entirely. Always curve your placement templates before finalizing headwear dimensions.
Motorcycle clubs, security personnel, and streetwear brands utilize back center placements. These large-scale graphics range from 8 to 11 inches. They carry immense physical weight. You absolutely require heavy base fabrics like denim, thick canvas, or heavy fleece to support the dense thread weight properly.
As sizing decreases, design simplicity must increase proportionally. You cannot shrink a highly detailed 5-inch jacket graphic down to a 2-inch hat dimension. You must strip away secondary elements. Remove taglines, simplify complex gradients, and thicken primary outlines to maintain visual impact.
Placement Location | Standard Dimensions | Fabric Support Requirement |
|---|---|---|
Left Chest (Polo/Shirt) | 2.5" - 3.5" wide | Light to Medium |
Headwear Front Panel | Max 2.25" high | Structured panel preferred |
Jacket Back Center | 8" - 11" wide | Heavy (Denim, Canvas) |
Sleeve / Shoulder | 3" - 4" wide | Medium |
Securing a reliable vendor involves scrutinizing their technical processes. You must validate quality assurance protocols before authorizing mass production. A proactive quality assurance strategy prevents disastrous batch rejections.
Many procurement leads obsess over raw vector artwork. However, evaluating the vendor's digitizing file proves far more critical. Digitizing translates flat artwork into physical stitch paths, determining thread direction, underlay density, and needle routing. Poor digitizing creates bird-nesting, fabric puckering, and illegible text, regardless of how beautiful the original artwork appeared on screen.
Never approve a high-volume run based solely on a digital mockup. You must demand a physical prototype. Inspect the prototype under natural daylight to confirm color accuracy. Check the reverse side for loose thread looping. Evaluate the border finish carefully. Merrowed borders wrap thread completely around the edge, offering a classic raised look for simple shapes. Laser-cut borders seal the edges cleanly, allowing for complex, custom silhouettes.
Evaluate your manufacturing partner logically. A trustworthy vendor maintains transparent operational policies.
MOQs and Pricing: Verify their minimum order quantities. Request their tiered pricing structures to understand how volume impacts unit economics.
Defect Policies: Ask explicitly about their defect tolerance rates. Understand their remake policies if a batch fails quality inspection.
Lead Times: Ensure quoted lead times account for physical prototyping and shipping, not just digital proof generation. Rushed timelines inevitably destroy quality control.
Choosing a custom patch for clothing operates as an engineering choice just as much as an aesthetic one. Long-term garment quality relies entirely on aligning your design resolution with the correct material, and matching the backing chemistry to the fabric constraints.
Assess garment lifecycles before selecting materials to prevent premature wear.
Match intricate artwork to flat mediums, reserving traditional thread for bold graphics.
Never apply heat-seal backings to coated waterproof synthetics.
Enforce strict sizing rules to prevent fabric warping and sagging.
Demand physical prototypes to evaluate digitizing quality before mass production.
To move forward successfully, finalize your vector artwork and simplify any secondary elements. Contact your shortlisted manufacturer and request a digital proof alongside a physical sample run. Validating fabric compatibility physically remains your best defense against production failures.
A: Heavy-duty workwear requires materials capable of surviving abrasion and chemical laundering. PVC offers unmatched durability, as the rubberized material remains waterproof and UV-resistant. Alternatively, heavily stitched traditional designs applied with a permanent sew-on backing survive commercial laundering exceptionally well.
A: No. Applying intense heat melts synthetic fibers like nylon. Furthermore, the heat-seal adhesive repels off Durable Water Repellent (DWR) coatings, causing immediate peeling. Always use a sew-on application for waterproof outerwear, and ensure the manufacturer applies seam sealing tape behind the stitching to restore waterproofing.
A: Merrowed borders use an overlock stitch to wrap thick thread completely around the edge, creating a classic, raised perimeter. This works best for simple shapes like circles or shields. Laser-cut borders use heat to slice and seal the edge flat, accommodating highly complex, jagged, or custom silhouettes perfectly.
A: They utilize entirely different machinery. Looms weave thin continuous threads together to create flat, high-resolution fabrics. Traditional methods use multi-head machines to punch thick thread through a substrate. While both have low setup fees compared to custom molds, differing production speeds and thread types impact the final unit volume pricing.